
Remember that smell in Grandma's apartment? A blend of lavender, homemade pierogi, and something else—that unique aroma of old furniture that harkens back to a time when television was an event, not a background for scrolling through your phone. These pieces aren't just wood and veneer. They're pieces of history , waiting for a second youth.
Why is it worth saving furniture from the Polish People's Republic?
In an age where we can order any piece of furniture with a single click, renovating Grandma's dresser sounds like madness. But think about it – how many times have you bought something new only to have it start to fall apart within a year? Furniture from the communist era lasted decades . It was made to last for generations, not seasons.
When you pick up an old club chair, you feel the weight of the solid wood. You see the mortise and tenon joints, the handcrafted details, the real wood veneer. It's a craftsmanship that's considered a luxury today. And yet we often toss them in the trash because we associate "old" with ugly.
But the truth is different – these pieces of furniture aren't vintage because they're old. They've always been beautiful. We just forgot about it for a moment.
Where to begin? Assessment of status and potential
Before you start sanding and painting, you need to be a detective. Take a close look at the furniture. Check the structure – is it stable or does it need repair? Look underneath, open drawers, pull handles. Look for loose screws, small cracks, or signs of woodworm.
Not every piece of furniture can be saved, but most can. Even if it looks hopeless at first glance. Remember, this armchair has survived forty years. It will survive another forty if you help it.
Pay attention to the details – original handles, the shape of the legs, and the embellishments. These will set the tone for the entire design. Sometimes, simply cleaning and polishing them is enough to transform a piece of furniture beyond recognition.
Cleaning – the first step to transformation
Before you reach for the sandpaper, start with a regular, thorough cleaning. Years of dust, kitchen grease, and coffee stains must all be removed to reveal the furniture's true colors .
For varnished wood, use warm water with a little dish soap. Gently wipe with a damp cloth. Don't pour water on the furniture—wood doesn't like it. For tougher stains, a 1:1 vinegar-to-1 olive oil mixture works well. This is an old trick from our grandmothers that works better than half the pricey store-bought products.
If the furniture is polished—you'll recognize it by its deep, warm sheen—be careful. Polish is as delicate as a teenager's feelings. Use a special polish cleaner or befriend a refinisher. They know how to handle these fickle surfaces.
After cleaning, it often turns out that the furniture doesn't require a complete overhaul. Sometimes, dusting and polishing are enough.
Structural Repair – The Foundations of Durability
This is where the real fun begins. If your furniture is wobbly, you need to reinforce it. Often, it's as simple as tightening loose screws, regluing loose adhesive joints, or replacing a single component.
To glue the wood, use carpentry glue – either white or waterproof, depending on where the furniture will be placed. Apply the glue, clamp the pieces together, and leave it overnight. The next day, your furniture will be solid as a rock.
Sometimes you need to replace entire components—for example, a drawer bottom or a back panel. Don't be afraid. You can use plywood, MDF, or—if you want to be purist—real wood. Just remember to keep the proportions and thickness of the material as close to the original as possible.
If you're dealing with a woodworm, you need to combat it. Wood preservatives are available at any hardware store. Just spray the product into the holes, wait, and repeat. It's a battle, but it can be won.

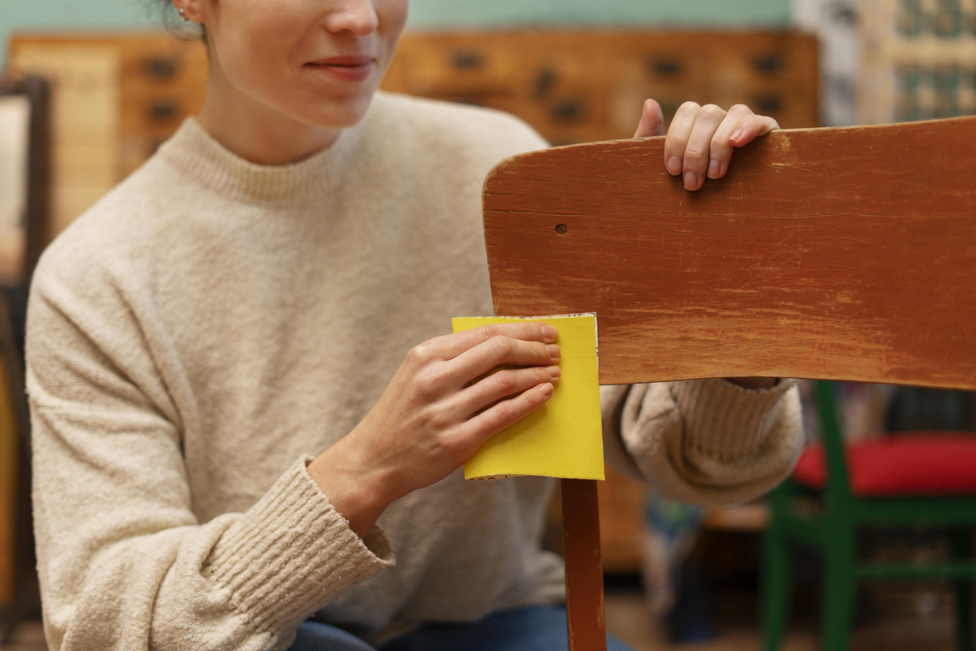
Removing the old finish
Now comes the moment of truth – removing the old varnish, paint, or polish. There are several methods, each with its advantages.
Sanding is the most popular option. Start with coarse sandpaper—80-120—to remove the old layers. Then move to progressively finer grits—180, 220, and finally 320. Always sand with the grain of the wood, never across it. Otherwise, you'll leave scratches that will be visible after painting.
If you don't have a sander, you can use paint remover. Apply it with a brush, wait a few minutes for the paint to swell, and then scrape it off with a putty knife. It's a messy job and the smell is awful, so do it outside or in a well-ventilated area. But the result? The paint practically comes off on its own.
Denatured alcohol is best for polish. Saturate a sponge with it and gently wipe the surface. The polish will dissolve and can be wiped off. This method requires patience, but it's the least invasive.
Painting or Oiling? Choosing a Finish
Once you have the bare wood, you have to decide what finish to give the piece of furniture. This is where you create a new story.
If you want to preserve the natural look of the wood, opt for oil or wax. Oil penetrates the wood, accentuating its grain, and adding depth to the color. You apply it with a brush or cloth, rub it in, wipe off any excess, and wait. Sometimes two or three coats are necessary. The result? Warm, vibrant wood that's pleasant to the touch.
Wax works similarly, but creates a delicate protective layer on the surface. It imparts a matte, satin sheen. This finish requires refreshing from time to time, but the process is simple – simply apply a new layer of wax paste.
If you prefer to paint, the possibilities are endless. Chalk paints have been a hit in recent years – they're easy to apply, offer good coverage, and create a matte, velvety finish in a shabby chic style. You can whiten an armchair , paint a sideboard dark bottle green, or opt for classic black.
Acrylic paints also work well, although they require a good primer. Varnishes provide a hard, resistant surface—ideal for furniture that sees heavy use.
Remember to apply a protective layer at the end – clear varnish, wax or sealant will protect your work from scratches and stains.

Replacing the upholstery – the soul of the furniture
If you're refinishing upholstered furniture, you'll need to tackle the stuffing and upholstery. This is the more difficult part, but it's doable.
First, remove the old upholstery. Do this carefully, taking photos of each step—these photos will help you put everything back together later. Beneath, you'll find the foam or springs. Check their condition.
Sponge often crumbles and loses its elasticity over the years. Replace it with new foam – purchase upholstery foam of the appropriate firmness from an upholstery supply store. If the furniture has springs and they're in good condition, you can leave them in. Otherwise, they need to be repaired or replaced.
Choosing a fabric is a key decision. The material should be durable – check its abrasion resistance. For a chair you'll be sitting in daily, choose a fabric with a resistance of at least 30,000 Martindale cycles.
When it comes to colors, the sky's the limit. You could opt for classic velvet in deep burgundy, modern linen in beige, or perhaps a bold, retro pattern? That's your story.
When cutting the fabric, leave a few centimeters of excess on each side. Start from the center of the seat, stretch the fabric evenly in all directions, and secure with an upholstery stapler. This takes practice, but even the first attempt will yield a satisfactory result.
Details that make the difference
Sometimes, simply replacing the handles is enough to make a piece of furniture look brand new. Vintage shops offer original brass doorknobs, ceramic knobs, and metal hinges. Or opt for something contemporary—minimalist gold moldings, leather handles, and industrial hangers.
If the furniture has glass, replace it or clean it until it's perfect. If it has a mirror that's darkened, it's a sign of its age. You can replace it or keep it as a testament to its history.
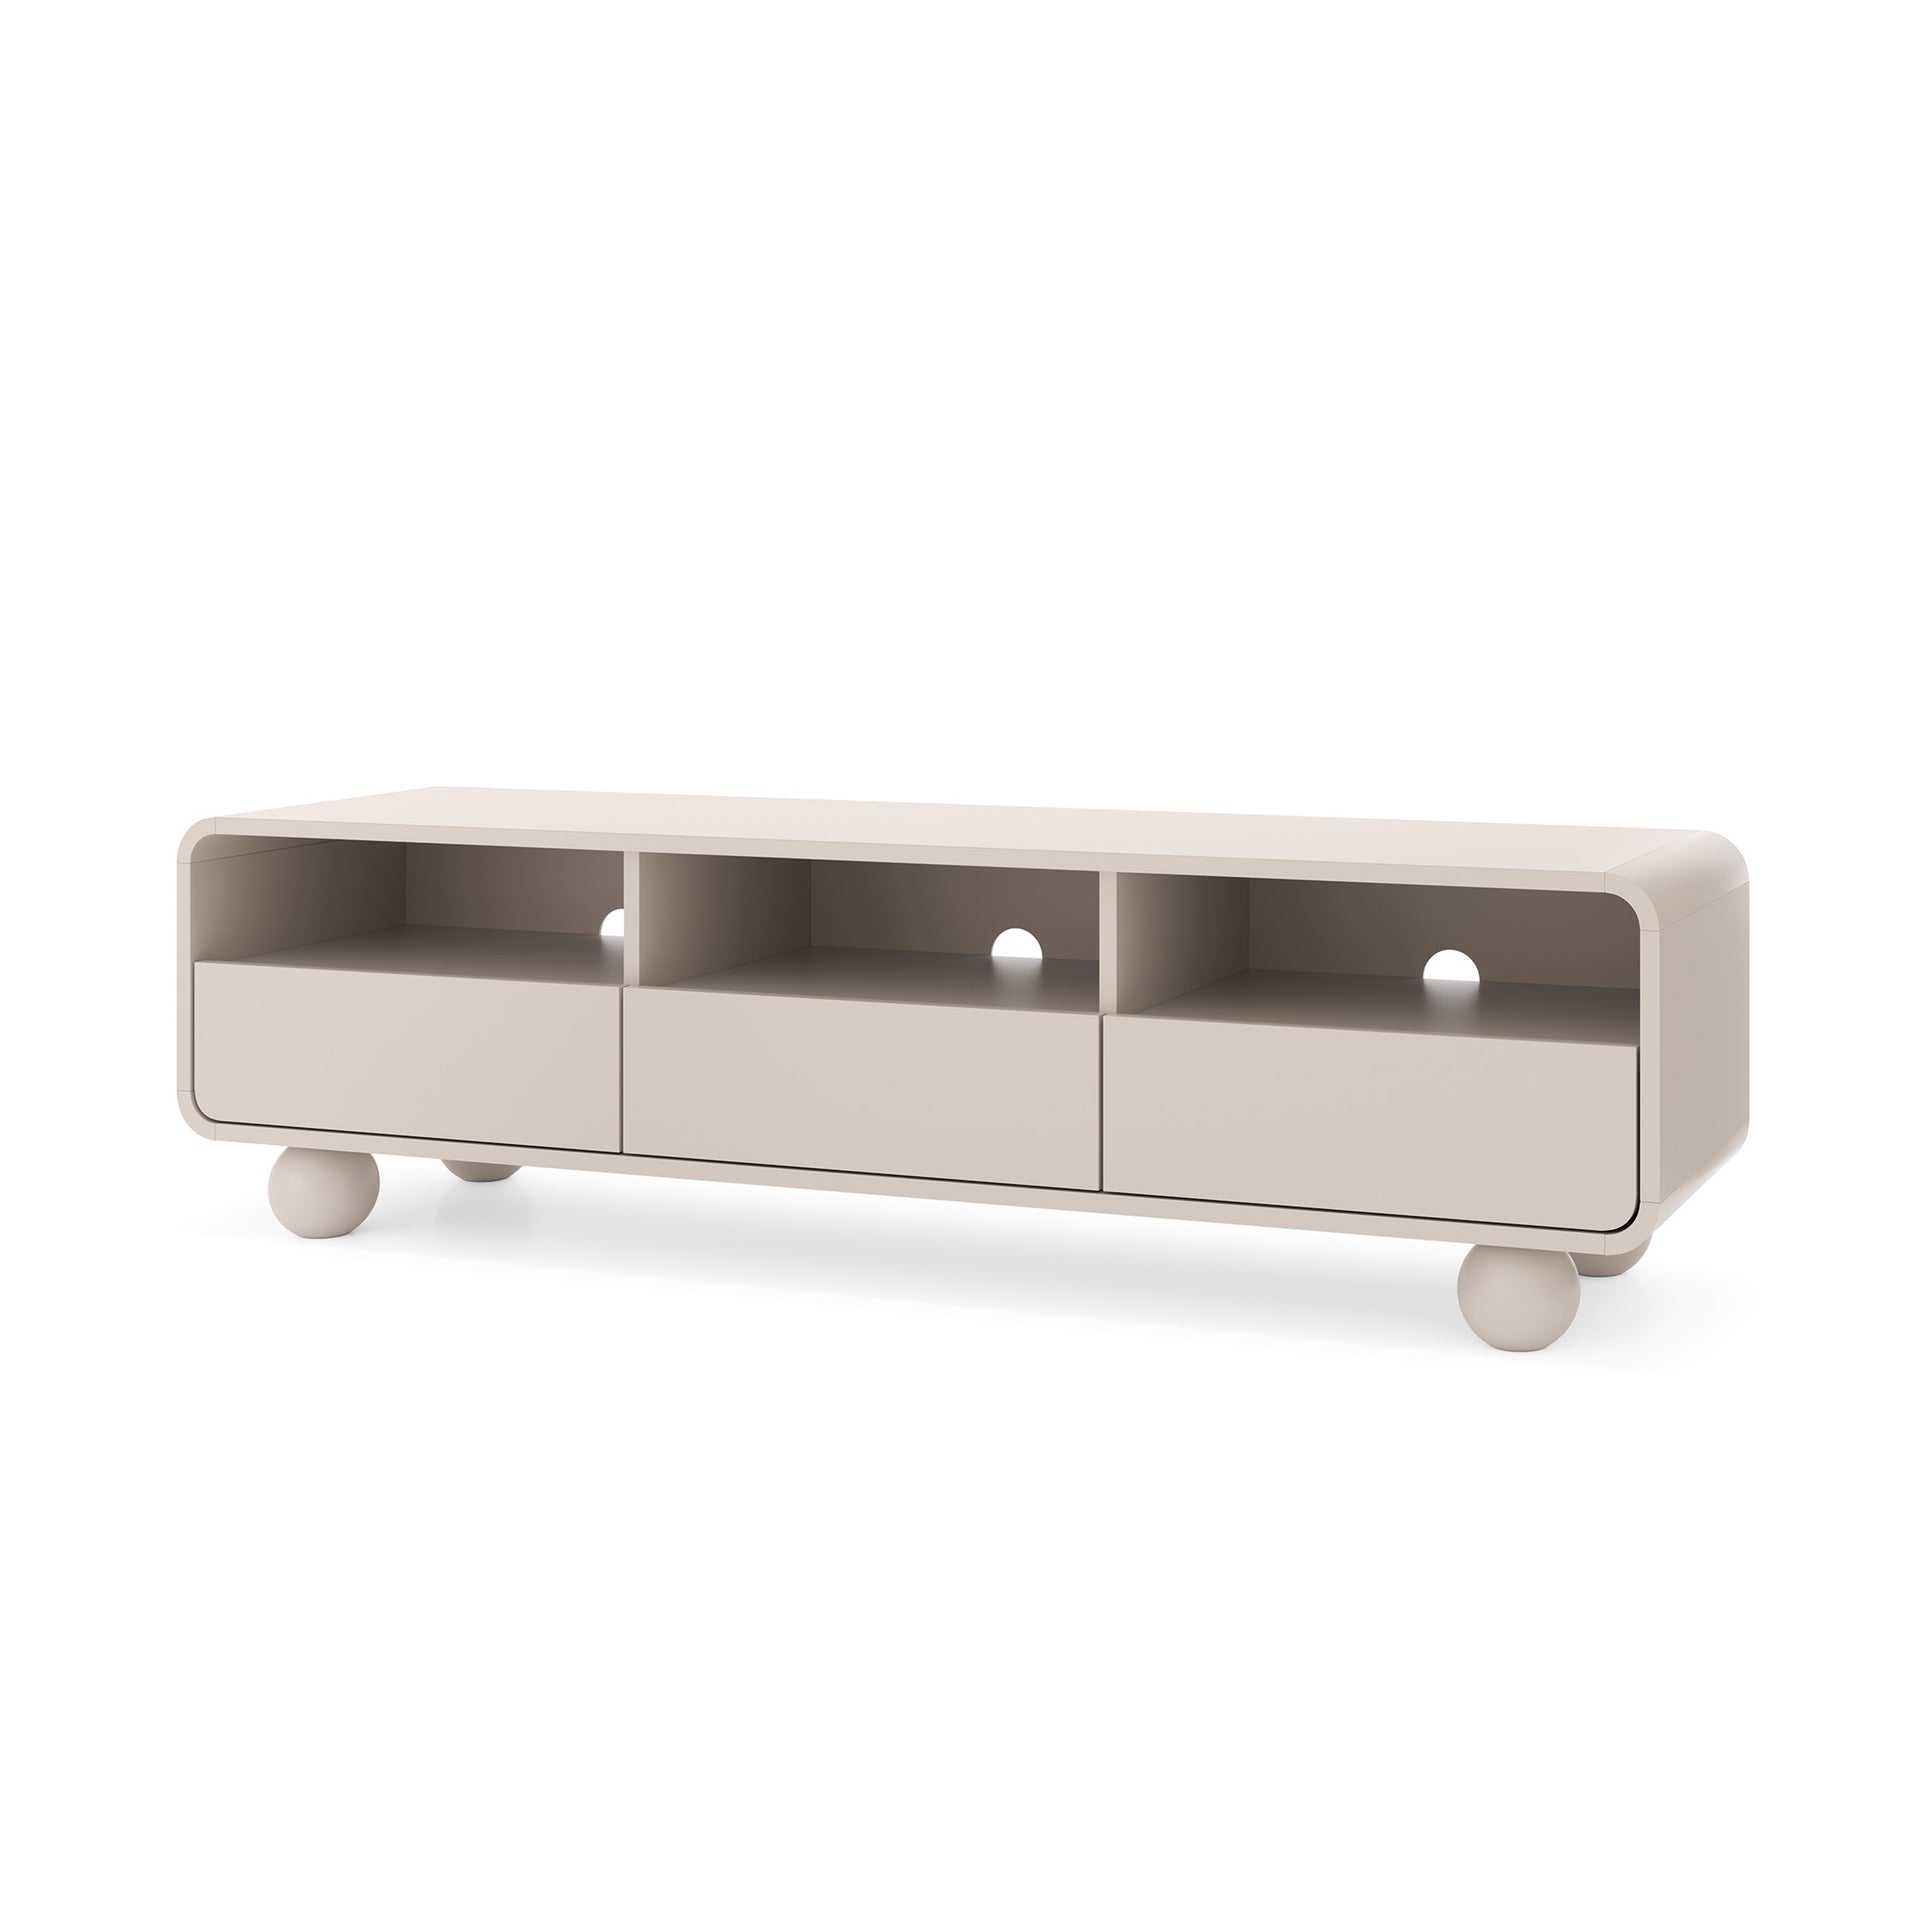
Furniture legs also deserve attention. You can shorten them to lower the sideboard, or replace them with new ones—mid-century modern stilettos, wooden spherical ones, or metal stars.
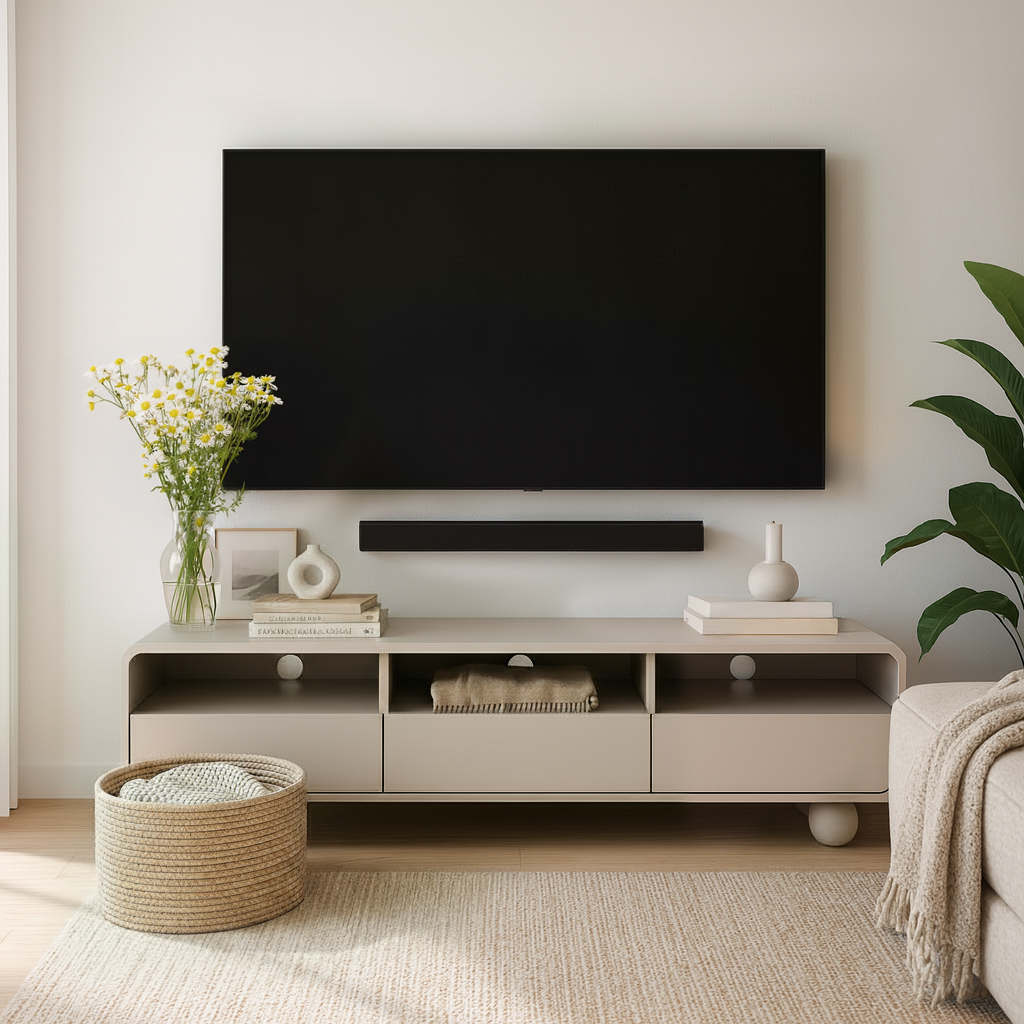
Where the furniture found a new home
Now you have your piece of furniture ready. But where should you place it?
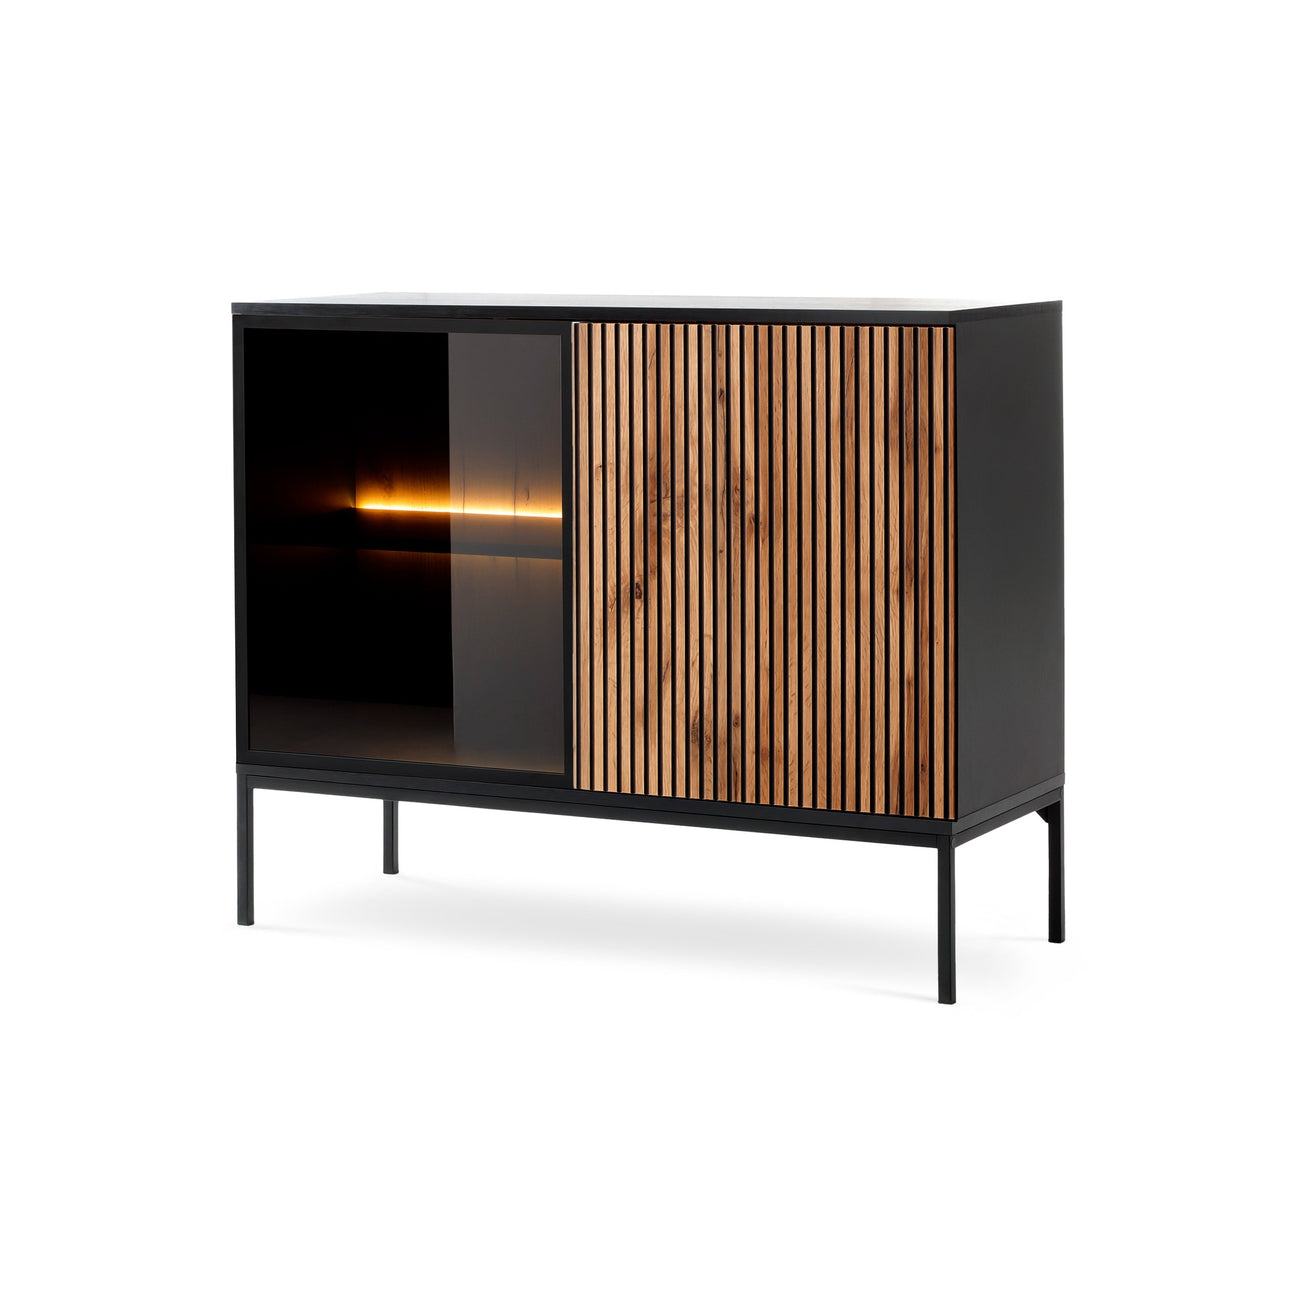
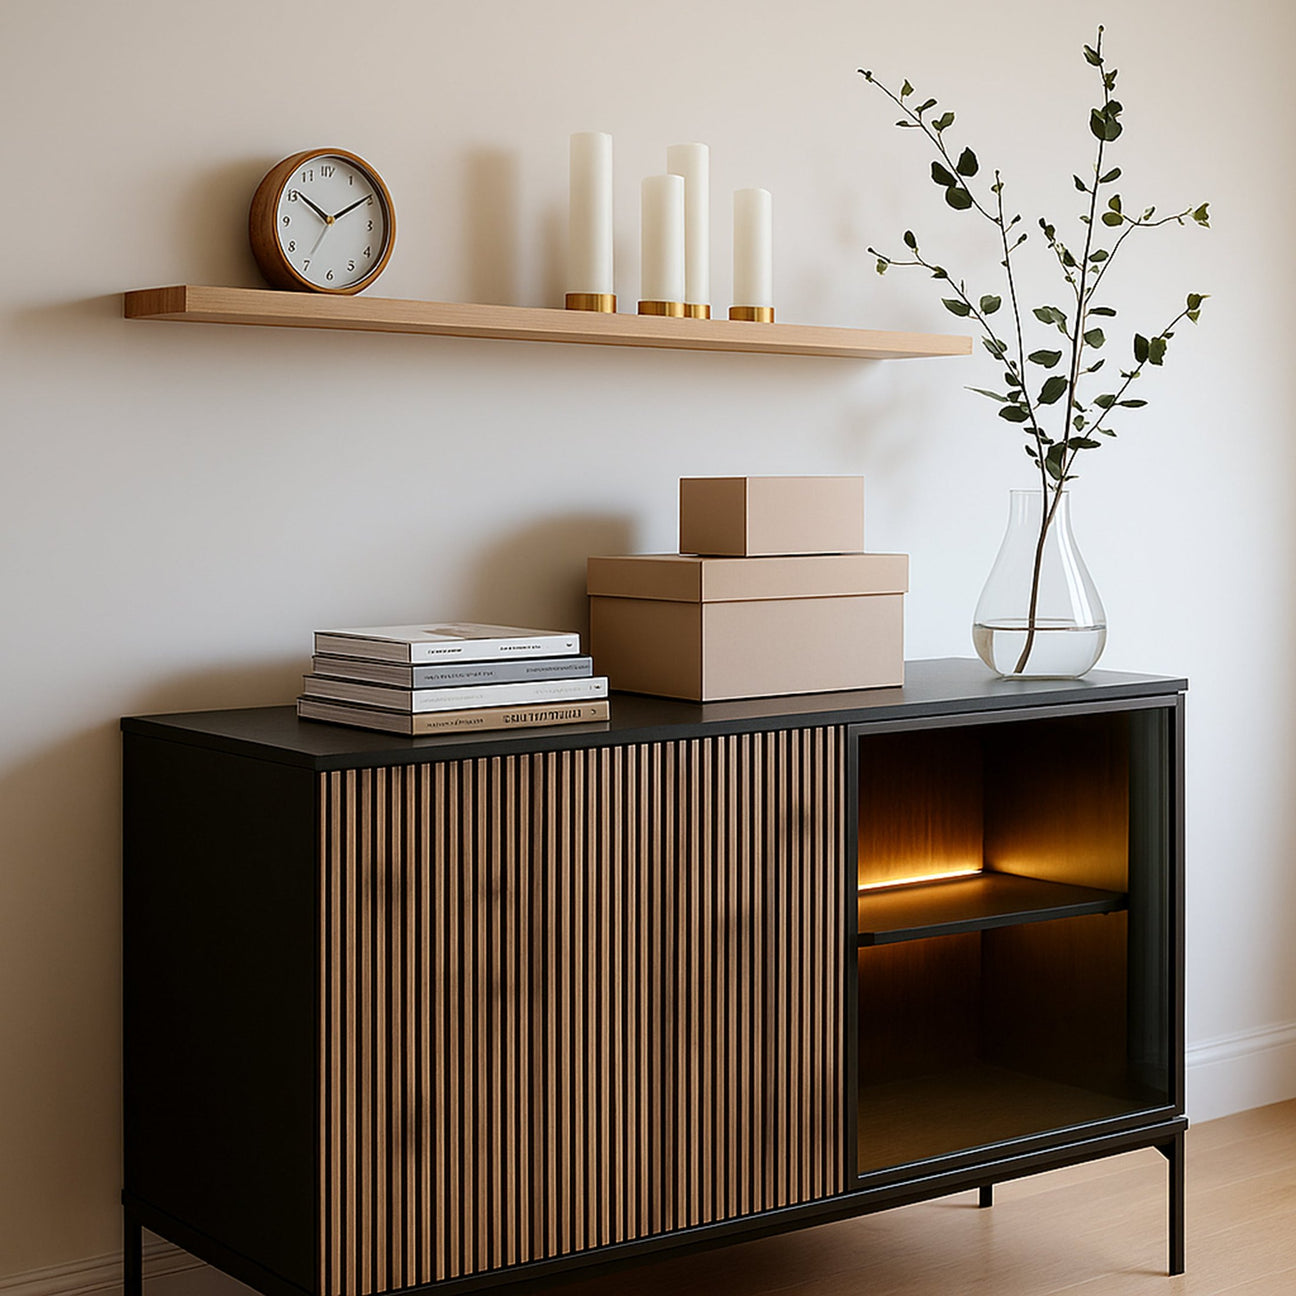
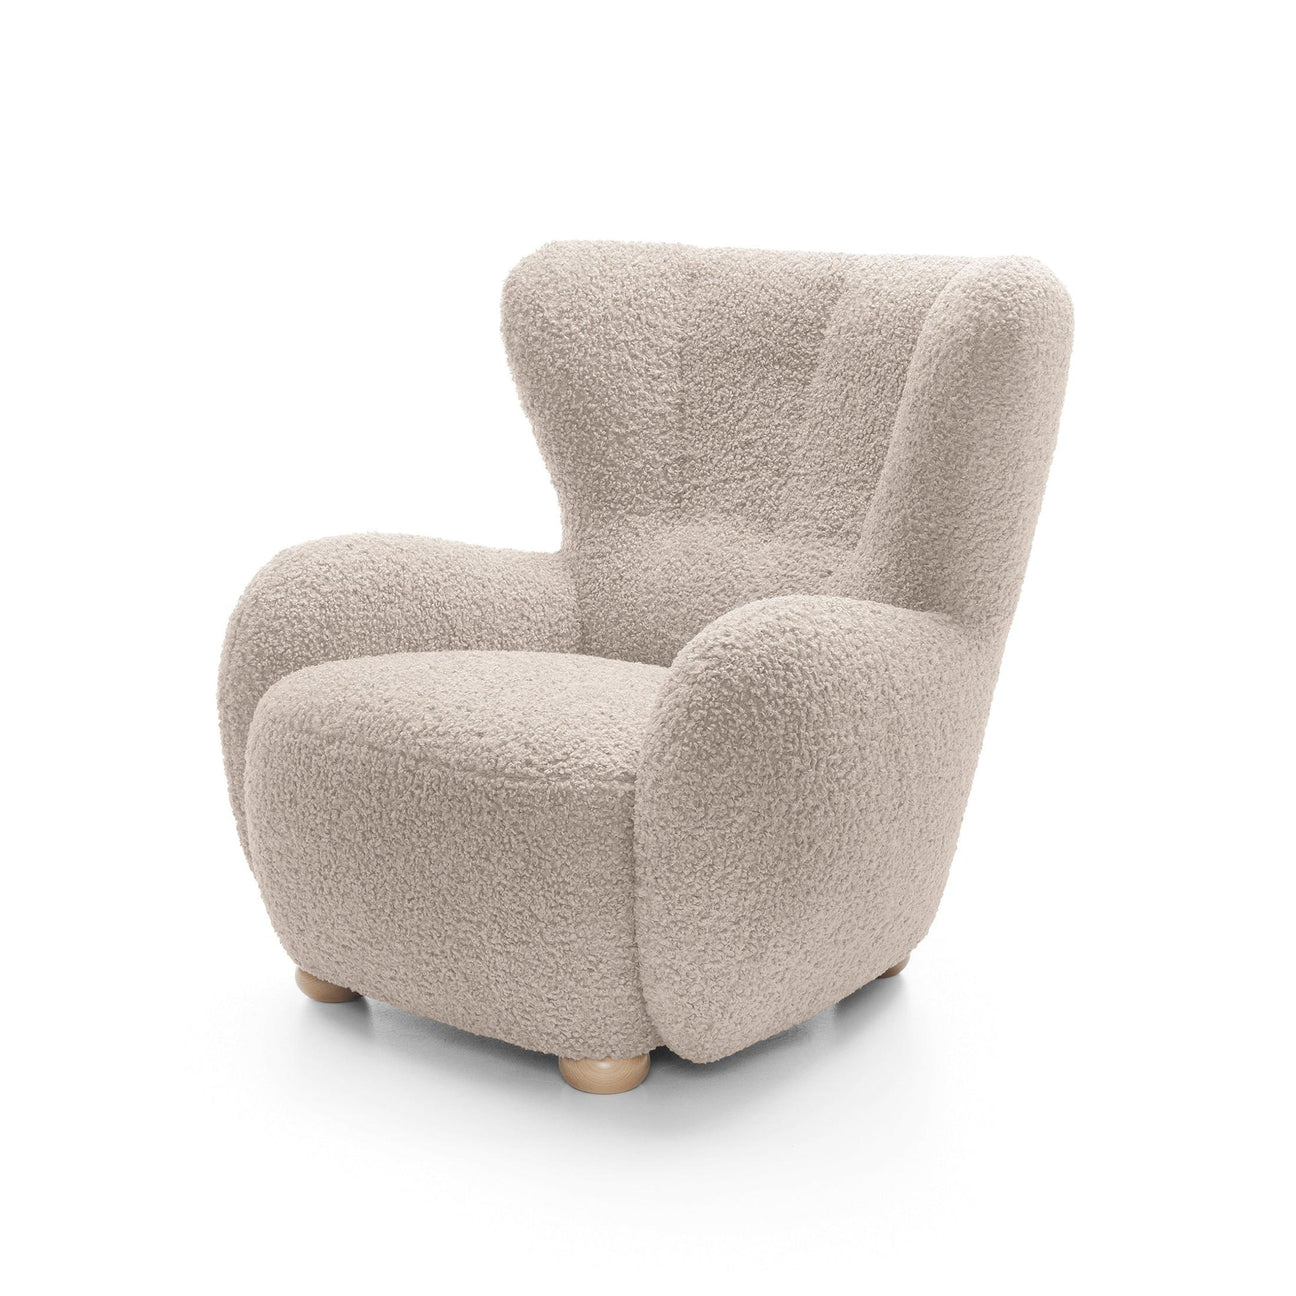
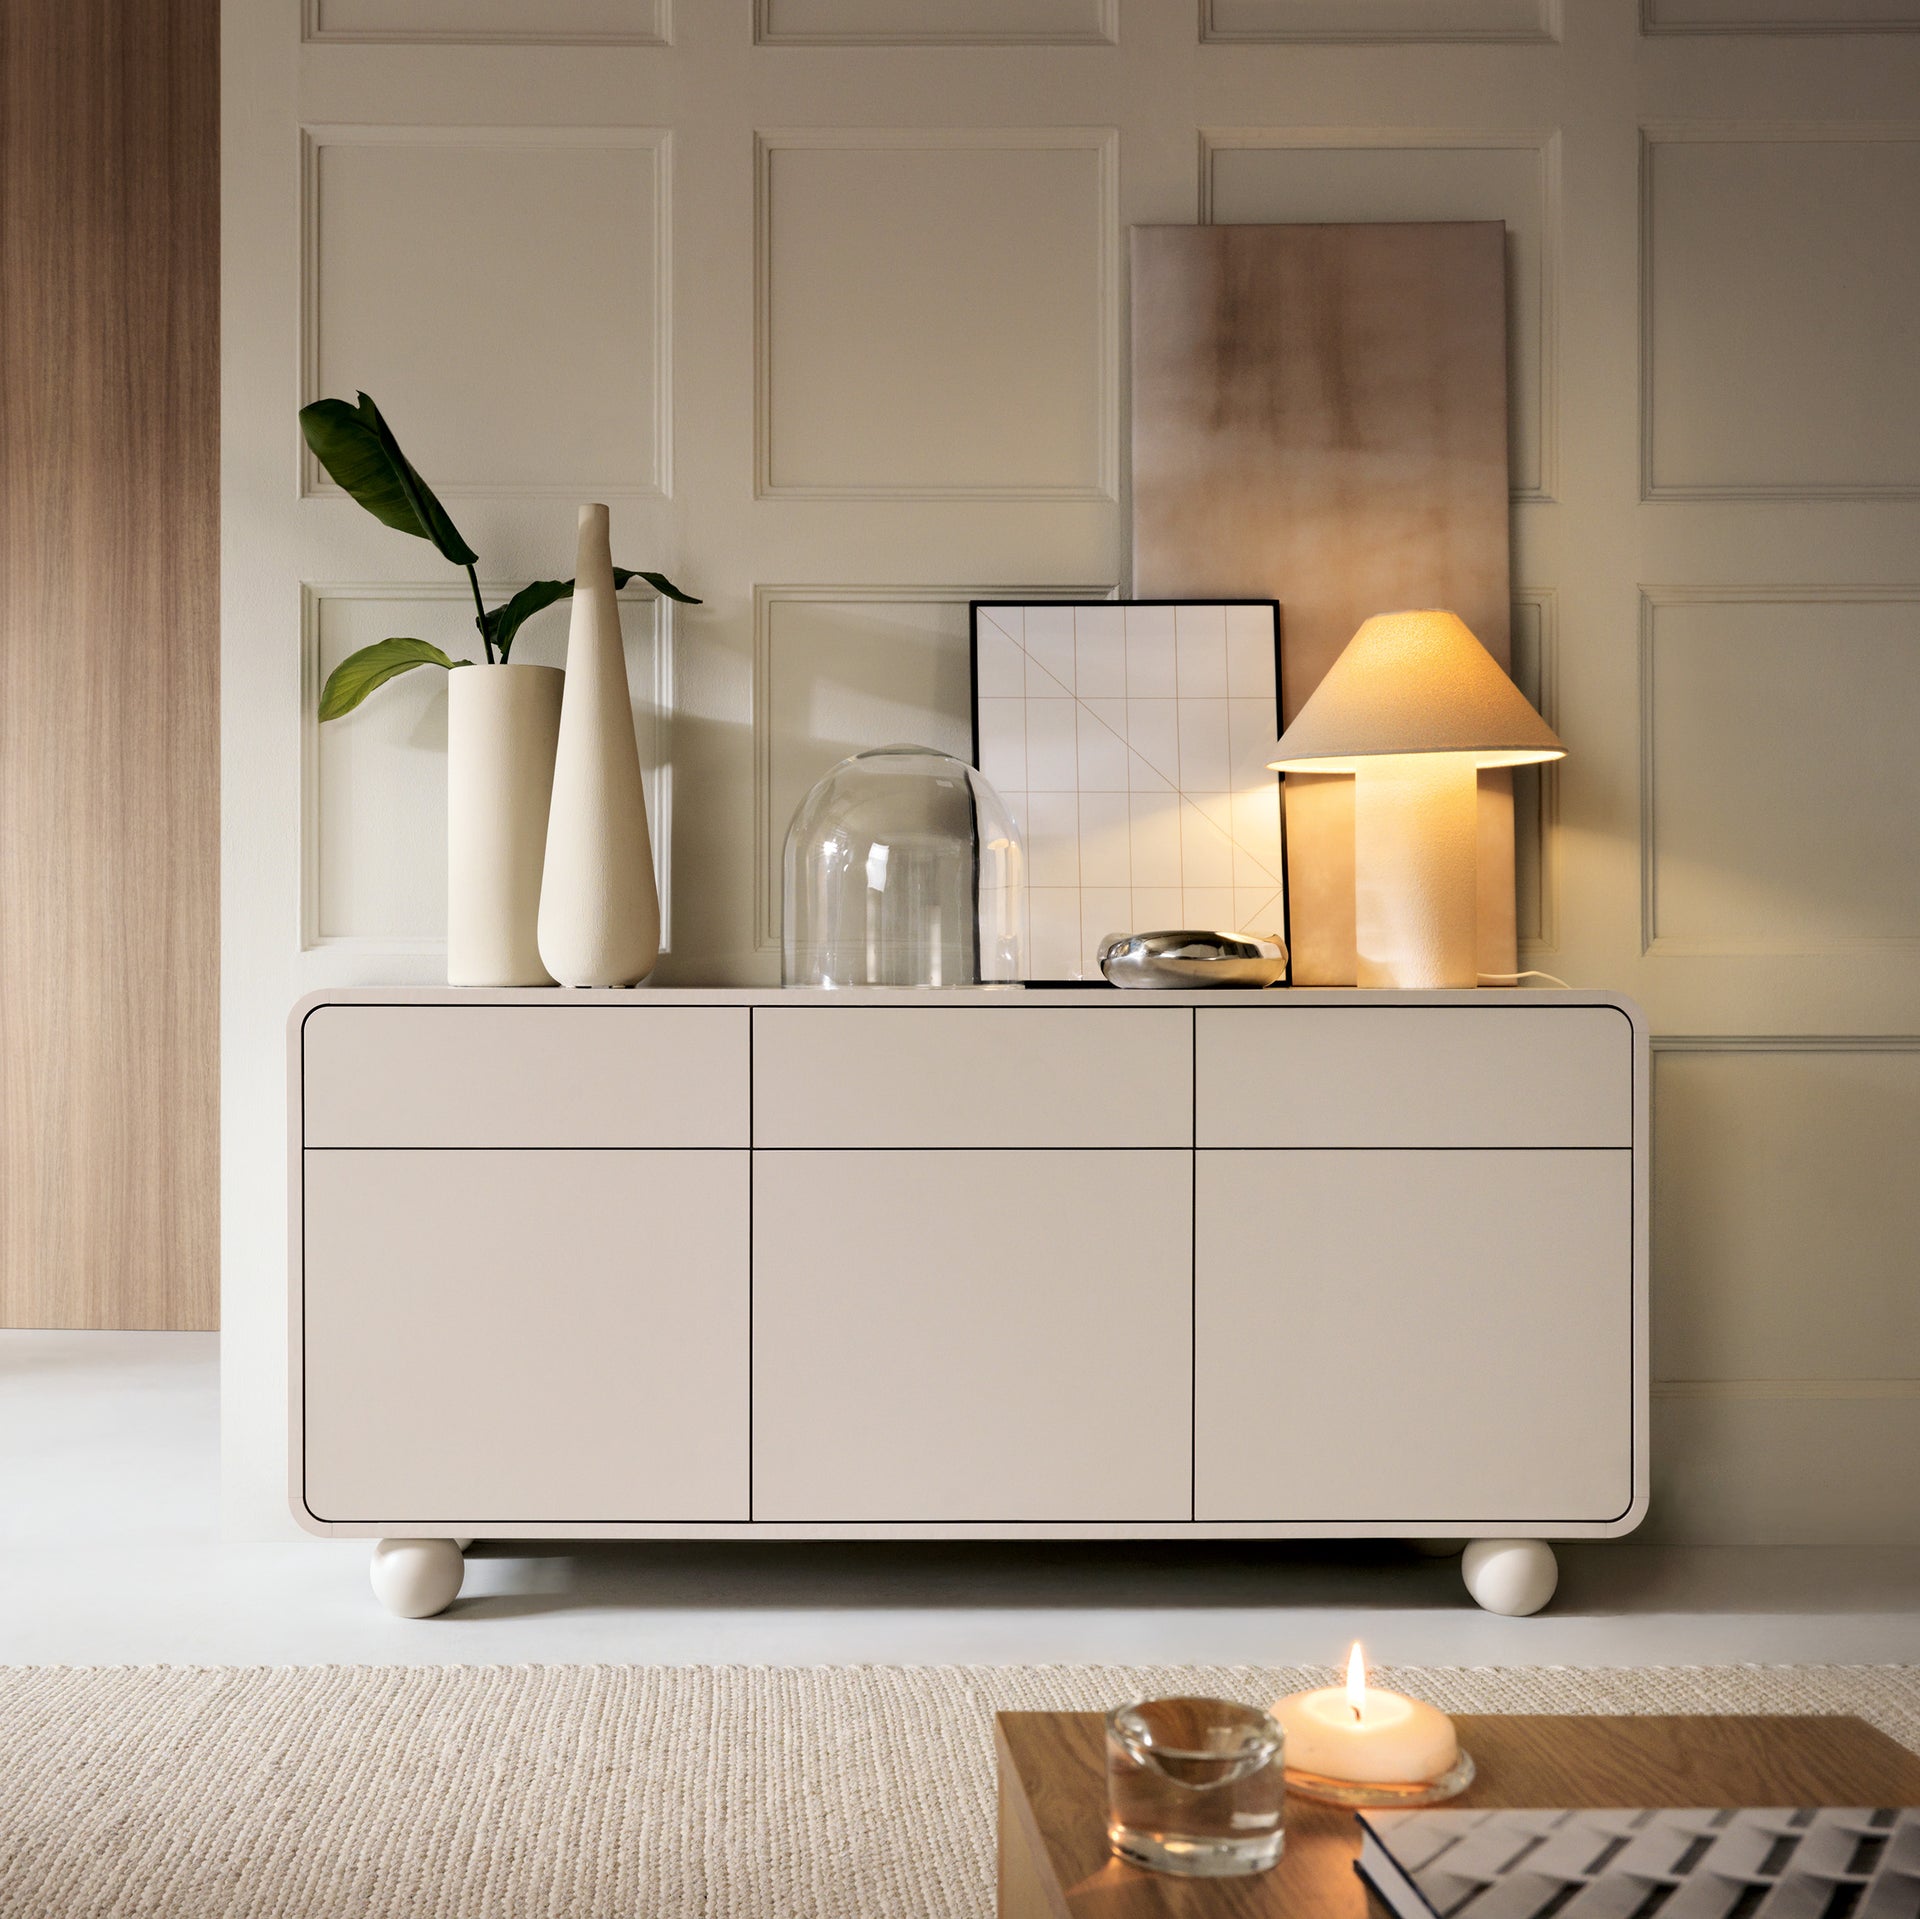
A refurbished club chair will look beautiful in the living room, paired with a fur throw and an old lamp. A communist-era sideboard can be the star of the dining room – display your collection of vintage glasses or cookbooks there.
A small chest of drawers from the 1970s will work well in the bedroom as a nightstand . A hanging shelf can be used in the kitchen for spices and favorite mugs.
Don't be afraid to mix eras and styles. Furniture from the communist era works beautifully with modern elements. It's precisely this contrast that creates interesting, personal interiors.

What is all this for?
Because refinishing furniture isn't just about saving money. It's an act of respect for the craft, for the time, and for the people who once created it. It's a way to create a unique interior that tells a story—yours and those who came before you.
When you sit in an armchair you've restored with your own hands, you feel more than comfort. You feel pride. You feel a connection to the past. You feel part of something bigger.
In a world where everything is temporary and disposable, a piece of furniture with a story is a statement. It's a way of saying, "I don't chase the latest trends. I create a home with soul."
Perhaps this is precisely the love for the warmth of home that we at Pillovely are all about. It's not about catalog perfection. It's about authenticity. It's about furniture that bears the marks of life and is given new life . It's about creating a space where the past meets the present, and you are the one who brings it all together.
Grandma's treasures are waiting. Time to breathe life into them.
Pillovely – for those who want more.